
Patch Locations and Racks
When you visit a patch location, Wavepoint provides two tabs: Details and Inside.
-
Do you not see the Details and Inside tabs?
-
Most likely, you have selected the patch location on the map, but have not yet clicked the name to further open it and see its internal information.
-
Click the name once, and the application displays the Details and Inside tabs.

-
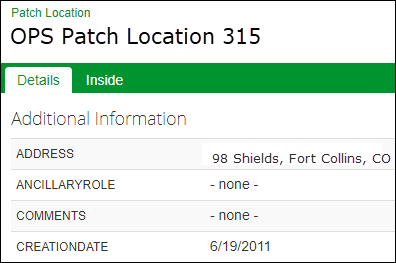
Details
The Details tab displays high-level, GIS attributes for the patch location.
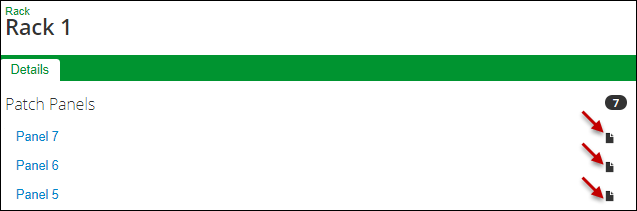
Inside
The Inside tab contains a list of racks, active and passive devices, and splitters at that location:
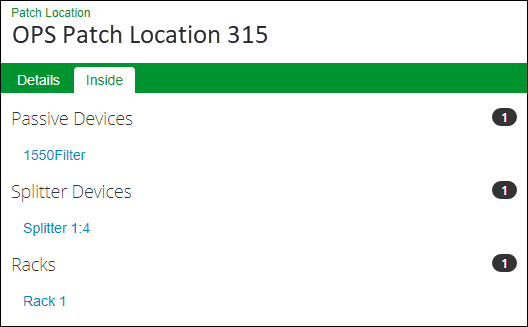
Click the name of a rack, device, or splitter to open its view. After you click a fiber facility, that facility gets its own Details tab (the original Details tab was for the patch location as a whole).
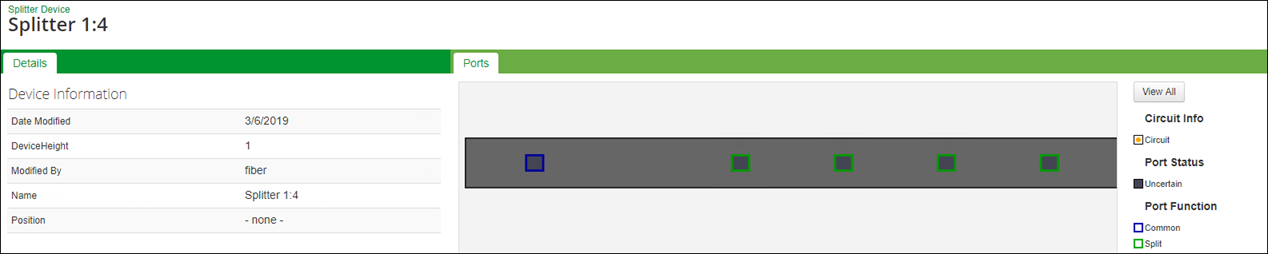
Details Tab of a Fiber Facility
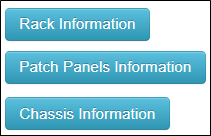
The Details tab appears in the left pane. Click the “information” buttons to view more attributes (the button names vary depending upon what is present at that fiber facility).
To the right is the Ports tab that contains a representation of the component.
After clicking the component, you can:
-
Click the panel or device name to zoom to that portion of the rack.
-
Use your mouse cursor to pan around the rack.
-
Hover over a port to view more information including type, status, and circuits.
For example, the following image displays a 1 x 4 Splitter:
As a another example, if your facility includes a chassis, it appears as a single unit on the initial rack view. In the follow image, notice the chassis is a simple rectangle:
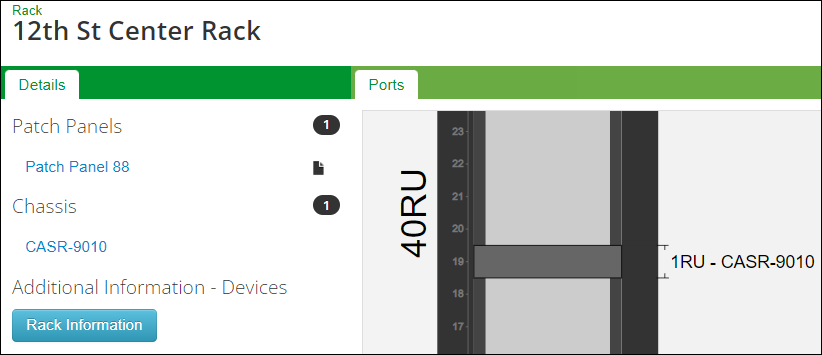
On the Details tab, click the chassis name to open a detailed port view of the chassis.

Connection Report
In the Details tab, click Connection Report to see the fiber connections on both sides of the panel or device.
The Report displays the following information:
-
The cable and fiber strands connected to one side of the port.
-
Whether or not a circuit is present on a fiber strand.
-
The port number.
-
The type of port.
-
The connection on the other side of the port, in particular if a jumper
 or a terminator
  is present.
Ports
When you click a port, the left pane displays the same details for the port including type, status, and circuits.
After clicking a port, you can:
-
Run a Full Path Trace with or without a wavelength filter.
-
Run an OTDR Trace with a distance.
-
If present, click the circuit name to see details and extent of that circuit.
