The information provided in this document contains general descriptions, technical characteristics and/or recommendations related to products/solutions.
This document is not intended as a substitute for a detailed study or operational and site-specific development or schematic plan. It is not to be used for determining suitability or reliability of the products/solutions for specific user applications. It is the duty of any such user to perform or have any professional expert of its choice (integrator, specifier or the like) perform the appropriate and comprehensive risk analysis, evaluation and testing of the products/solutions with respect to the relevant specific application or use thereof.
The Schneider Electric brand and any trademarks of Schneider Electric SE and its subsidiaries referred to in this document are the property of Schneider Electric SE or its subsidiaries. All other brands may be trademarks of their respective owner.
This document and its content are protected under applicable copyright laws and provided for informative use only. No part of this document may be reproduced or transmitted in any form or by any means (electronic, mechanical, photocopying, recording, or otherwise), for any purpose, without the prior written permission of Schneider Electric.
Schneider Electric does not grant any right or license for commercial use of the document or its content, except for a non-exclusive and personal license to consult it on an "as is" basis.
Schneider Electric reserves the right to make changes or updates with respect to or in the content of this document or the format thereof, at any time without notice.
To the extent permitted by applicable law, no responsibility or liability is assumed by Schneider Electric and its subsidiaries for any errors or omissions in the informational content of this document, as well as any non-intended use or misuse of the content thereof.
© 2017 – 2025
Schneider Electric Smart Grid
Solutions, LLC

 button or by choosing the feature in the
drop-down field. Selecting any one input feature will pull all the
other features into the geoprocessing tool.
button or by choosing the feature in the
drop-down field. Selecting any one input feature will pull all the
other features into the geoprocessing tool.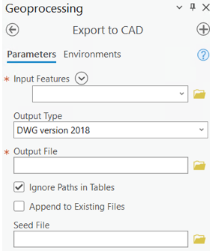 If the layer names display as fully qualified path, correct this. The layer name itself is required.
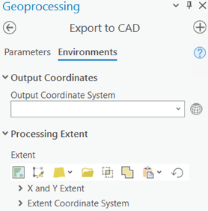

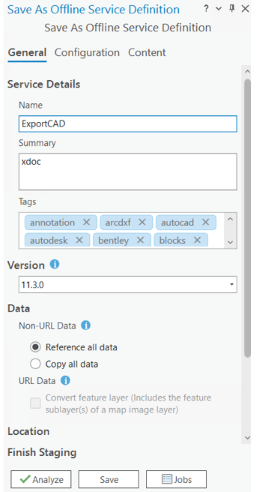
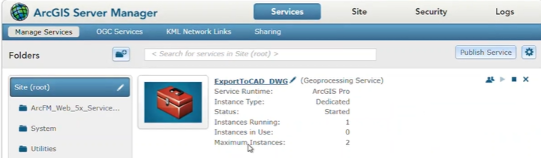
 Select your Service Definition file from step 12. Click Open. Move through the Publish Service options, making appropriate choices for your organization. We recommend accepting defaults for the first and second forms. Select whom to share your services with and which members of groups may see these services. Select the Publish button. Allow publishing to complete as this may take some time