
Upgrading Your Workflows
How to Upgrade a Workflow
When changes are made to any of the Schneider Electric trace workflows, it is necessary for users to replace their current workflows with the updated versions. In a nutshell, the upgrade process completes the following:
-
Removes the existing form element
-
Replaces it with the new form element
-
Then connects that element to the preceding and following elements in the workflow.
Below are instructions for performing this operation. These steps need to be performed for each workflow that needs to be updated.
-
Open the existing Workflow file. This can be done from ArcGIS Online or Portal by clicking on the desired workflow under Content and selecting View Application. This automatically opens the web mapping application in VertiGIS Studio Workflow. This must be done on the same machine where VertiGIS Studio Workflow is installed.
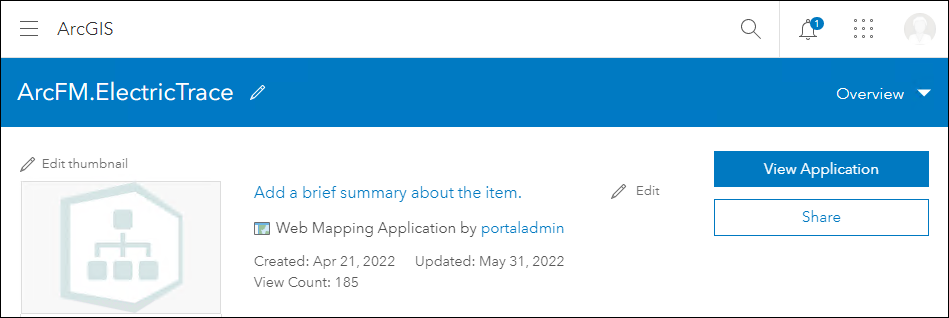_DD00870994.jpg)
-
Open the new Workflow file using Import in the Workflow app. Navigate to the location of the new file and click Open. You now have two tabs open in Studio Workflow; one for each workflow file.
-
From the tab for the existing Workflow, right-click on the Display Form element and select Cut.
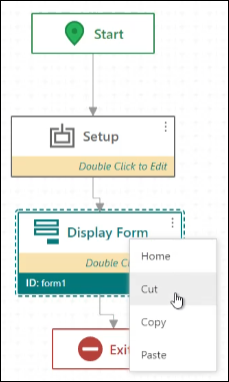_DD00870993.jpg)
-
Switch to the new Workflow tab, right-click on the Display Form and select Copy.
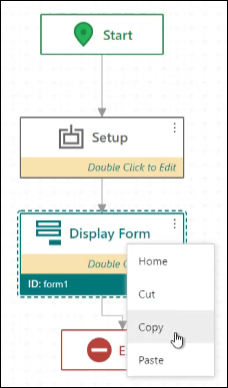_DD00870992.jpg)
-
Navigate back to the existing Workflow tab, right-click on an empty space on the form and click Paste.
-
Click and drag the new Display Form to the desired location in the Workflow.
-
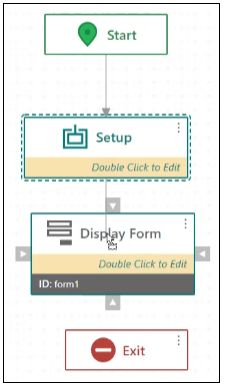
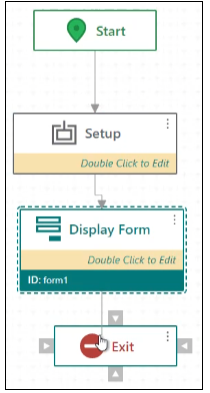
Click on the Setup element to highlight it.
-
Click and drag the down arrow from the Setup element to the Display Form element.
-
Click on the Display Form element to highlight it.
-
Click and drag the down arrow from the Display Form element to the Exit element.
-
Save the Workflow file.