Preparing and Installing the Cast Resin Busbar Elements
Overview
This section explains how the cast resin busbar elements should be installed on the supports. At this stage, the supports have been installed in accordance with the installation plan.
General Instructions for Installation
Follow these instructions during the installation process:
-
Start the installation by connecting the switchboard.
-
Continue toward the transformer, sub distribution board, and loads.
-
Install the elements in accordance with the planned layout as indicated in the installation drawings supplied.
-
Connect the sections of up to a maximum of six units to facilitate the insulation test.
-
For handling reasons, keep a straight element as the last connected unit.
Installing the Cast Resin Busbar Elements
Follow these instructions for installing the cast resin busbar elements
-
Position elements at the desired location using slings or other lifting lugs.
-
Ensure that elements are correctly positioned in relation to the adjoining elements.
-
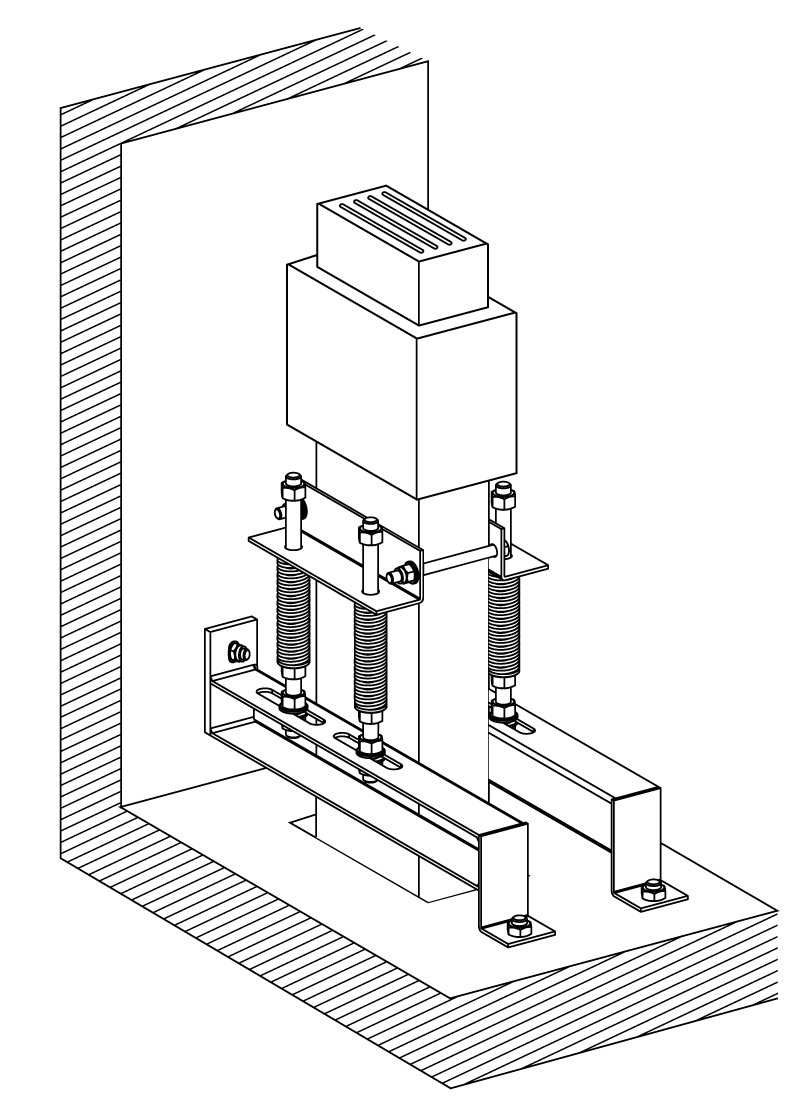
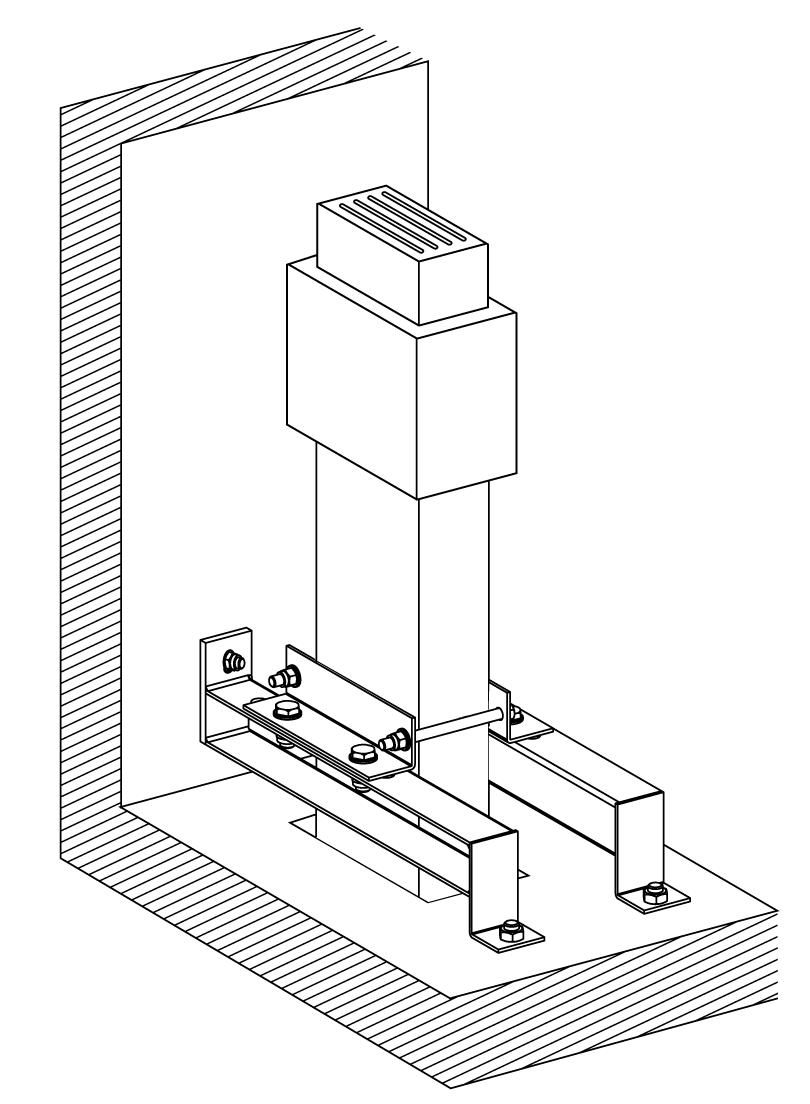
Secure the cast resin busbar trunking system by tightening the threaded rods on the supports. Use the nuts and fixing screws provided with the supports.
-
When installing adjoining elements, make sure that the spacing between their end conductors is 30 +/-5 mm.
Installing the Cast Resin Busbar Elements Vertically on Wall-Mounted Brackets
Follow these instructions for vertical installations mounted on walls.
|
|
|
|
|


