Setting of the BSCM Modbus SL/ULP Module (Micrologic 5/6 Trip Units Only)
 WARNING WARNING |
|---|
|
HAZARD OF NUISANCE TRIPPING OR FAILURE TO TRIP
Setting adjustments of the BSCM Modbus SL/ULP module must be done by qualified electrical
personnel.
Failure to follow these instructions can result in death, serious injury, or equipment
damage.
|
BSCM Modbus SL/ULP Module Modbus Parameters
The following Modbus parameters can be configured on MicroLogic 5 and 6 trip units when the BSCM Modbus SL/ULP module is in Modbus SL only mode or Modbus SL and ULP mode:
-
The Modbus address
-
The Baud rate and the Modbus SL Auto Go function
-
The parity
-
The BSCM Modbus SL/ULP module Modbus parameters can be configured on MicroLogic 5 and 6 trip units with firmware version greater than or equal to 001.008.003.
-
The BSCM Modbus SL/ULP module Modbus parameters are not available on MicroLogic 7 trip units
If the position of the Modbus address rotary switch is on 0, it is possible to read and change the BSCM Modbus SL/ULP module Modbus address on the display of the MicroLogic 5 and 6 trip unit.
If the position of the Modbus address rotary switch is on 1 to D, the BSCM Modbus SL/ULP module Modbus address is set to 1 to 13 respectively. It is possible to read, but not change the BSCM Modbus SL/ULP module Modbus address on the display of the MicroLogic 5 and 6 trip units.
For Modbus address rotary switch positions 0 to D, it is possible to read and change the Baud rate and parity by using the MicroLogic 5 or 6 trip unit.
The BSCM Modbus SL/ULP module Modbus parameters can be set also with EcoStruxure Power Commission software (password-protected).
Setting the BSCM Modbus SL/ULP Module Modbus Address
The following table illustrates setting the BSCM Modbus SL/ULP module Modbus address on a MicroLogic 5 or 6 trip unit:
|
Step |
Action |
Using |
Display |
|---|---|---|---|
|
1 |
Press the The BSCM Modbus SL/ULP module Modbus address is displayed. |
|
|
|
2 |
Press the lock/unlock microswitch. |
|
|
|
3 |
Set the BSCM Modbus SL/ULP module Modbus address on the keypad. |
|
|
|
4 |
Validate the BSCM Modbus SL/ULP module Modbus address (the pictogram blinks). |
|
|
|
5 |
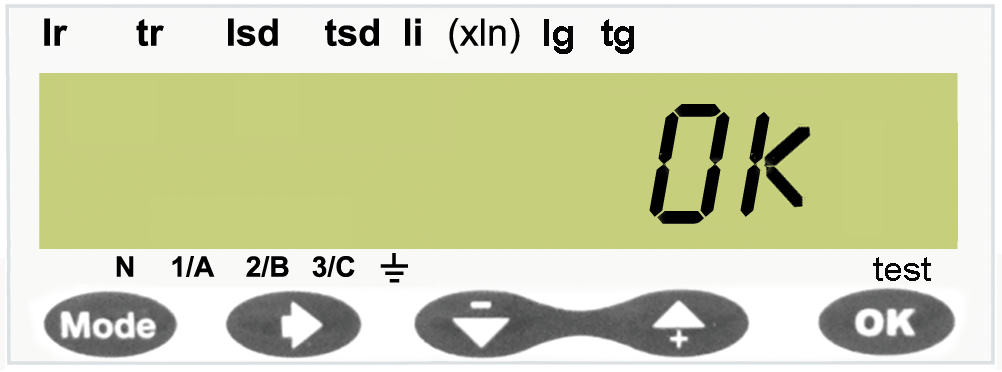
Confirm the BSCM Modbus SL/ULP module Modbus address. The confirmation is displayed for 2 s. |
|
|


Setting the BSCM Modbus SL/ULP Module Modbus Parameters
The following table illustrates setting the BSCM Modbus SL/ULP module Modbus parameters on a MicroLogic 5 or 6 trip unit:
|
Step |
Action |
Using |
Display |
|---|---|---|---|
|
1 |
After setting the Modbus address, press the navigation key. The Baud rate is displayed. |
|
|
|
2 |
Select the Baud rate on the keypad:
NOTE: Select Auto to enable the Modbus SL Auto Go function.
|
|
|
|
3 |
Validate the Baud rate (the pictogram blinks). |
|
|
|
4 |
Confirm the Baud rate. The confirmation is displayed for 2 s. |
|
|
|
5 |
Press the navigation key. The parity is displayed. |
|
|
|
6 |
Select the parity on the keypad:
|
|
|
|
7 |
Validate the parity (the pictogram blinks). |
|
|
|
8 |
Confirm the parity. The confirmation is displayed for 2 s. |
|
|
|
9 |
Exit the setting mode The screen with I1/A current value is displayed. |
|
|