
Example of a Configuration Using a Schneider Electric Modicon Managed Switch
The following configuration is recommended for any new installation. The Schneider Electric Modicon managed switch has been tested and validated for optimum use of a ring topology of EVlink Pro AC charging stations.
The following table shows recommendations for configuring IP addresses.
|
Device |
IP address |
|---|---|
|
EV Charging Expert |
192.168.0.128 |
|
Gateway |
192.168.0.254 |
|
Remote access |
192.168.0.253 |
|
Modicon switch |
192.168.0.100 |
-
PC configuration recommendations for installing the Modicon Switch configuration software: to install the Ethernet Switch Configurator 2.2.07 software:
-
Check that you are the administrator of your PC.
-
Check that the software is launched in Windows 7 compatibility mode.

-
Check that firewalls are disabled or configured to allow communication on the LAN.
-
Check that the Ethernet network parameters of the PC are modified as follows if a DHCP server is missing:
-
IP address: 192.168.0.1
-
Subnet mask: 255.255.255.0
-
Gateway: 192.168.0.254

-
-
Check that the network configuration is taken into account.

-
-
Install the Modicon switch and connect it to the LAN.

NOTICE HAZARD OF NETWORK INOPERABILITY- Leave the network loop open in switch.
- It is closed once the configuration is completed.
Failure to follow these instructions can result in equipment damage.-
Power on the equipment.
-
Connect the device with an RJ45 cable.

-
Switch detection
-
On the PC, launch the Ethernet Switch Configurator 2.2.0 7 software.

The software automatically runs a network scan that identifies the switch to be configured.

-
Edit the properties by clicking the Properties menu.

-
Configure the switch network parameters (according to initial recommendations).

-
Check that the switch network configuration is properly applied.

-
-
Connection to Modicon Switch web pages:
-
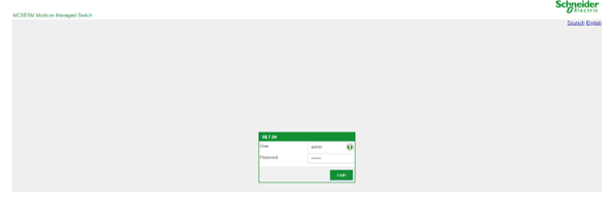
On the PC, launch a web browser and enter the switch IP address.
-
Confirm the connection to the server by clicking Continue to 192.168.0.100 (unsecured).

-
Enter the user ID and password that are known or provided in the switch user guide (default identifiers).
User ID: admin
Password: private
-
Change the password and confirm.


The main screen displayed is as follows.

-
-
Configuration of the switch for a ring topology: RSTP Priority and Max age.
-
To update date and time:
-
In the Time/Basic settings menu, update the indicated values using the PC clock.

-
Save the date and time settings.

-
-
To save the new configuration:
-
In the Basic Settings->Load menu, select the configuration information.

-
Save the new configuration.


-
-
Open the Diagnostics/Report/System Log menu to check that the changes appear in the System Log report.


