
Create CU Categories
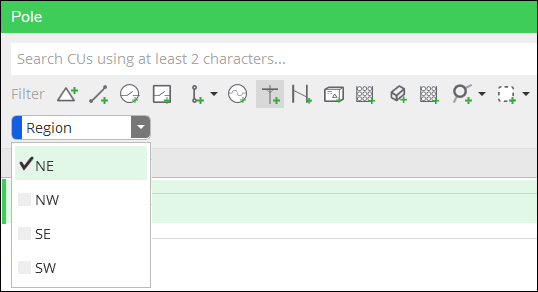
The first step to configure CU Categories is to create the categories themselves. In other words, you create the drop-downs (including name and values) that end users see in the application. In this example, the name of the category is “Region” and the values appear in the drop-down.
To create CU Catgories, follow these steps:
-
In Solution Center, click Designer > Catalog > CU Categories.
-
Click the Add
 button.
 -
Type a short, descriptive name for the CU Category. This name is visible in the client application, so ensure it is understandable for users.
-
Choose a Color.
-
Near “Values,” click the Add
button. -
Type a descriptive name for the Value. This name is visible in the client application, so ensure it is understandable for users.
-
To type another Value, either press Enter or click the Add
button again.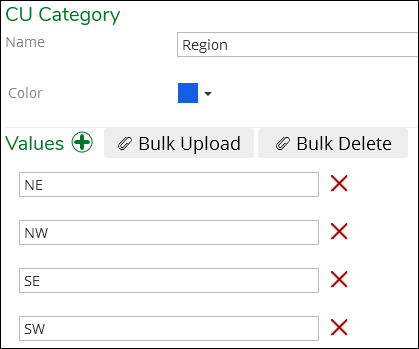
-
Continue to add Values, as necessary.
TIP: Do not worry about the order when creating the Values. Once you save, they are re-sorted in alphanumeric order. -
Click Save when finished.
TIP: You probably noticed the Bulk Upload and Bulk Delete tools. These are great time savers if you have the Values you want to add or remove ready in Excel. Their functionality is identical to managing CU Tags, so see the topics Bulk Upload CU Tags and Bulk Delete CU Tags for more information.