
Picture Element
Whether it is a company logo, common shapes, or standard warning icons, a typical Layout includes pictures. A Picture Element is also the best way to create grids or complex frames that surround a variety of text and other images, and a Picture Element is the only way to add tables and title blocks to designs.
Designer XI accepts images in several common formats:
-
BMP
-
DNG
-
GIF
-
ICO
-
JFIF
-
JPEG
-
PNG
-
SVG (preferred)
-
WBMP
-
WEBP
Scalable Vector Graphics (.svg) files are preferred because they support high-resolution images at any scale. Raster formats such as .png and .jpg will work, but you may notice pixelation at small scales.
Many third-party image applications can create or convert other image formats to .svg, including Microsoft Powerpoint. On a blank Powerpoint slide, either insert your existing picture (for example, a company logo), or create a new image using the various shapes and icons within Powerpoint. If necessary, group image elements together. Then, right-click the picture and choose “Save as Picture.” Finally, for “Save as Type,” choose Scalable Vector Graphics.
To create Picture Elements, follow these steps:
-
Ensure you have a canvas, as stated in Create Page Elements.
-
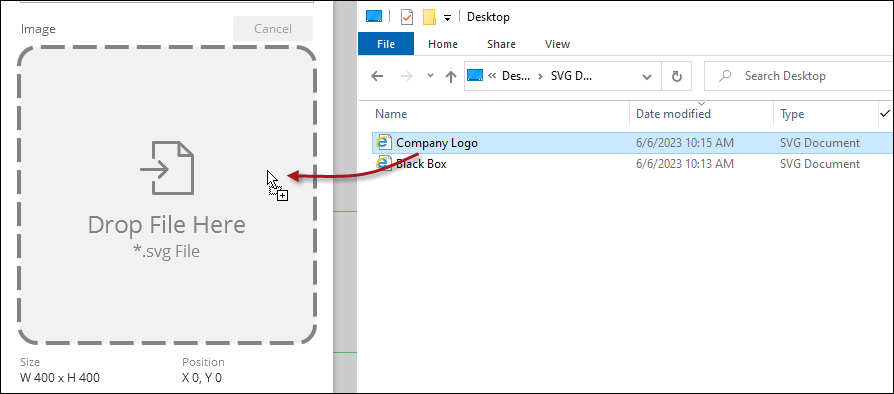
Have your image ready in Windows Explorer. Later, you drag and drop it into the Create Element dialog.
-
Click the Add Element
 tool.
tool. -
In the Add Element dialog, click Page Elements.
IMPORTANT: It is required to click Page Elements first if you intend to create a new Element. If you are on Page Templates, then you would create a new Template. -
Click the Add
 tool.
tool. -
In the New Element Type dialog, click Picture, then Next.
-
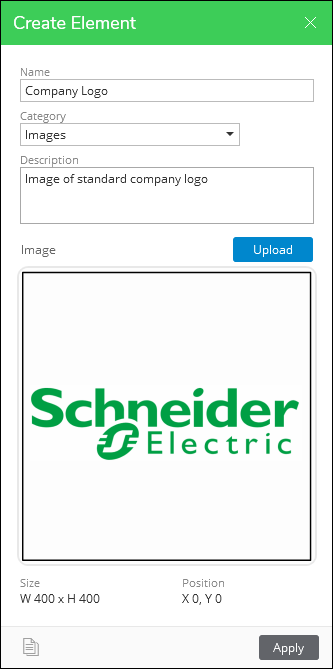
In the Create Element dialog, type a concise and descriptive Name. This Name is seen by end users. This example uses “Company Logo.”
-
Notice the Category field. Categories organize your Elements. The first time you want a Category, you type its name into the field. For subsequent Elements, you can choose the Category name from the drop-down.
-
Type a Category name. This example uses, “Images.”
-
Type a Description. This is optional, but it allows you to provide a little more detail about the Element for your end users.
-
Drag and drop your image into position.
-
Verify the image.
-
Click Apply.
-
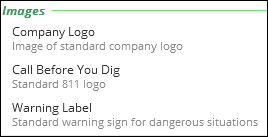
Repeat with other common images.
-
When finished, click the Save
 icon.
icon.
Good to Know
End users are able to re-size images, if necessary.