
Map Arrow Element
A typical Layout includes a North Arrow, and Designer XI allows you to add one of your choosing. You need an image file of a North Arrow in a supported format to start, and the requirements are the same as for a standard Picture Element. The key difference between a regular Picture Element and a Map Arrow is that the Map Arrow Element rotates to match the angle of the map, while Pictures do not.
To create a Map Arrow Element, follow these steps:
-
Ensure you have a canvas, as stated in Create Page Elements.
-
Have your image ready in Windows Explorer. Later, you drag and drop it into the Create Element dialog.
-
Click the Add Element
 tool.
tool. -
In the Add Element dialog, click Page Elements.
IMPORTANT: It is required to click Page Elements first if you intend to create a new Element. If you are on Page Templates, then you would create a new Template. -
Click the Add
 tool.
tool. -
In the New Element Type dialog, click Map Arrow, then Next.
-
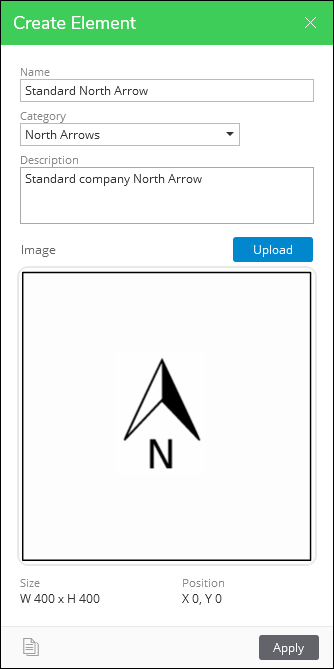
In the Create Element dialog, type a concise and descriptive Name. This Name is seen by end users. This example uses “Standard North Arrow.”
-
Notice the Category field. Categories organize your Elements. The first time you want a Category, you type its name into the field. For subsequent Elements, you can choose the Category name from the drop-down.
-
Type a Category name. This example uses “North Arrows.”
-
Type a Description. This is optional, but it allows you to provide a little more detail about the Element for your end users.
-
Drag and drop your image file into position.
-
Verify the image.
-
Click Apply.
-
Repeat with other Map Arrows, if necessary.
-
When finished, click the Save
 icon.
icon.