
Stamp Graphics and Text
Text can be incorporated with a point, line, or polygon graphic. The point, line, and polygon can be visible along with the text, or you can configure it so that only the text is visible after placement. Many different configurations are provided in the Stamp Graphics Sample.
To add text as a layer to a graphic, follow these steps:
-
In the Catalog tab, click the graphic once to highlight it.
-
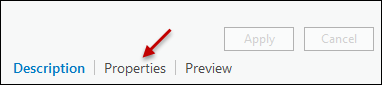
At the bottom of the graphic pane, click Properties.
-
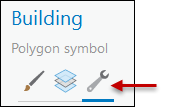
At the top of the graphic pane, click Structure.
-
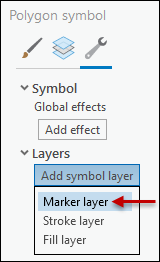
Under Layers, click Add Symbol Layer > Marker Layer. The application provides a default symbol, but you change it in upcoming steps.
-
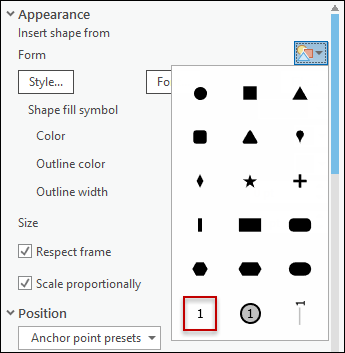
At the top of the graphic pane, click Layers.

-
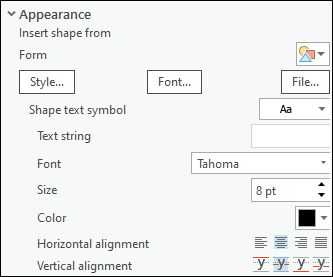
Under Appearance, click the icon presets drop-down, then choose the first text preset. There are two other text presets, the but the first one is the easiest to work with because it has the most basic formatting by default.
-
For the text, you need to decide if you want to supply the text for your users, have your users be able to free type, or a combination of the two.
-
Static Text that You Supply for your Users:
-
In the Text String field, type the text that should automatically appear in the application (the following image uses “Install Notes” as an example). The users are not able to change the text or its formatting in the application. You are providing exactly what it says and how it looks.

-
-
Free Text that Allows Users to Type Whatever They Need:
-
In the Text String field, type [text] exactly as shown. This provides a text box for the end user to type whatever they need.

-
-
Combination of Both Static and Free Text:
-
To accomplish a combination, you need one layer for the static text and another layer for the free text. Re-visit the Structure properties (as seen in Step 3 above) to add another layer. Then, use the various offset options to stack the text one above the other so they do not overlap. Finally, one layer receives the static text, and the other layer receives the [text] placeholder.
-
-
-
Decide how you want the text to appear in the application. Under Appearance, use the various formatting fields to change the look and feel of the text.
-
Also explore the Position, Rotation, Offset Distance, and Marker Placement properties to refine the look and feel of the text. For more information, see the Esri help topic Manage Styles.
NOTE: Regarding rotation, users are able to rotate text in the application. -
Click Apply once finished. This is the same thing as saving your .stylx file.
-
Save your Project. Schneider Electric recommends creating and saving a graphics Project. The name of the Project is up to you. This is because you end up re-visiting this Project many times while you are getting your graphics looking just right. Having a dedicated Project saves you time, instead of having to create a new one each time.