
Process Tab for Conditional Labeling
The previous topic, Label Configuration within the Designer XI Application, discussed labeling directly from attributes.
This topic discusses conditional parameters (such as “if true” and “when”) that refine your labels even further.
“If Attribute is True, Else” Labeling
There are two options for the “If” conditional formatting of labels. The first checks if a boolean attribute has a value of true and performs the action defined for this case; else, it performs a separate defined action. For non-boolean attribute types, the formatting checks if the attribute has a value or is null and performs a defined action based on the condition result. The attribute immediately preceding the new Process step automatically determines which conditional formatting is applied. Add a Process action immediately after the attribute you wish to test.
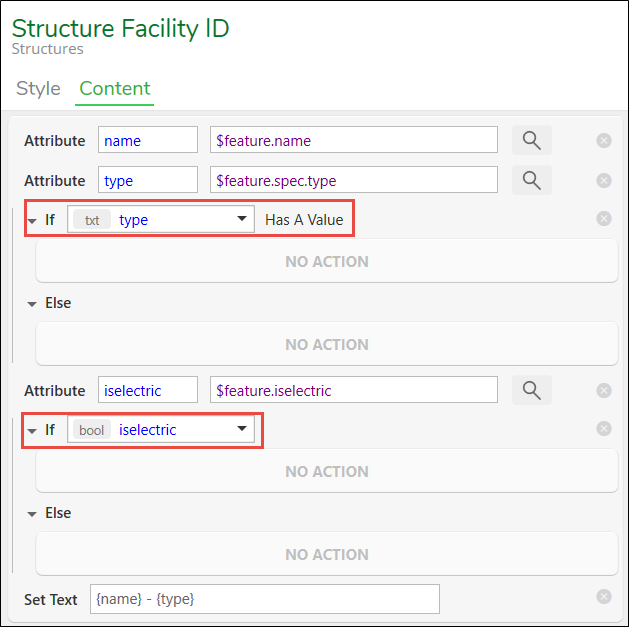
In the image below, notice the conditional step for the “type” attribute checks for a value. While the conditional step for the “iselectric” attribute, which is a boolean, checks for a true value. For each attribute data type you can define an action for the “if true” and the “else” case.
The steps below have already chosen a True/False attribute using the process outlined in Label Configuration within the Designer XI Application. A similar set of steps can be taken to use the “Has a Value” conditional formatting for a non-boolean attribute type.
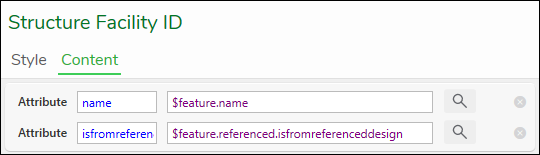
The True/False attribute in this scenario is, “is it from a reference design?” In the application, you can bring in other designs to act as a reference for your design. So, in this case, you can create a different labeling expression to differentiate components from the reference (further, you could also work with your Design Style to symbolize components from reference designs differently too).
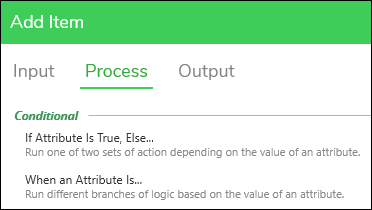
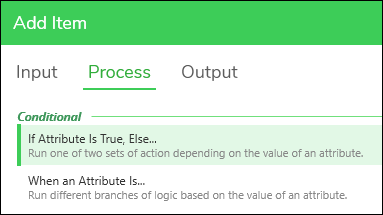
To use the conditional “If Attribute is True, Else” labeling statement, follow these steps:
-
Hover your mouse below the attribute row.
-
Click when the green plus sign appears.
-
In the Add Item dialog, click Process.
-
Click “If Attribute is True, Else” to highlight, then click Apply.
-
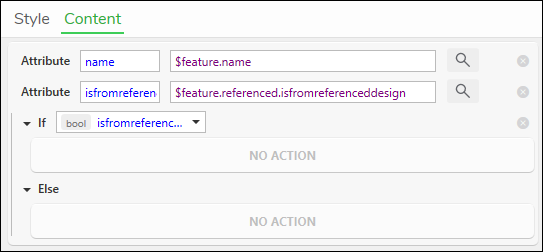
Notice an “If” and an “Else” row appear.
-
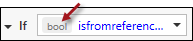
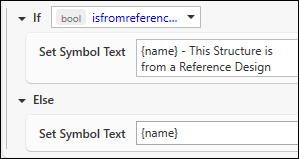
Further, notice that “bool” is present before the “isfromreferencedesign” label variable. This is a confirmation that you have chosen a “True/False” or boolean field. That is the appropriate field type for this label statement, utilizing the “If .
 IMPORTANT: The field type must be boolean. A free text field where somebody has typed the words “True” or “False” does not work with this label statement. For that scenario, see the “When an Attribute is” section below.
 -
Under “If,” click “No Action.”
-
In the Add Item dialog click Output.
-
Click “Symbol Text for Format Expression,” then click Apply.
-
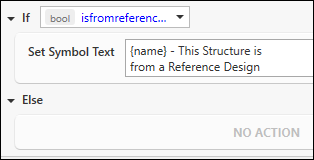
For “Set Symbol Text,” build an expression that declares this component is from a reference design. Again, the “If” part of this expression is for when the field is “True.”
-
Under “Else,” click “No Action.”
-
In the Add Item dialog click Output.
-
Click “Symbol Text for Format Expression,” then click Apply.
-
This time, the “Set Symbol Text” only references the “name” of the structure.
-
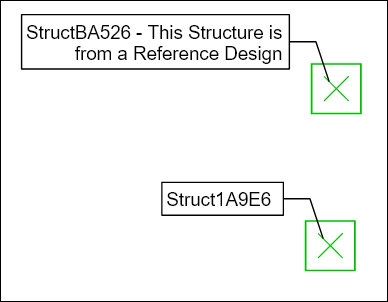
Click Apply Preview. In this image, the structure to the north was from a reference design, while the structure to the south was part of the active design.
-
Click Save.
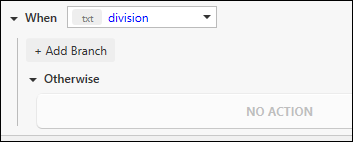
“When an Attribute is” Labeling
You can also configure the label based on the value of non-boolean attributes. For example, if the “division” attribute has a value, it should label normally. However, if the “division” is null, it should produce a label that warns the end user that the division tag is missing. Clearly, this is just an example of how to use the tools, and you can configure your labels to suit your company’s needs.
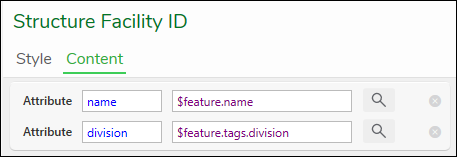
The steps below use the same “Structure Facility ID” example from the previous topic.
-
Hover your mouse beneath the attribute row, then click when you see the green plus sign.
-
In the Add Item dialog, click Process.
-
Click “When an Attribute Is” to highlight, then click Apply.
-
Notice a “When” row appears.
-
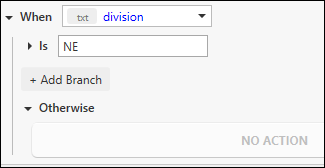
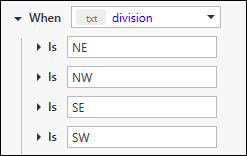
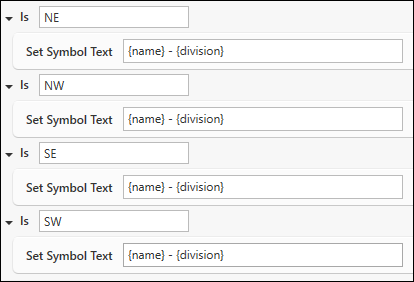
Click “Add Branch.” Here is where you type the values you are looking for. In this case, the CU Tag for Division has four possible values: NE, NW, SE, and SW.
-
By “Is,” type the value you are looking for. In this example, the administrator typed “NE.”
-
Depending on your label expression, perhaps that is the only attribute you wish to use. In these steps, the administrator wants to warn users via the label that they are missing a tag. In that case, repeat the previous few steps to add more values.
-
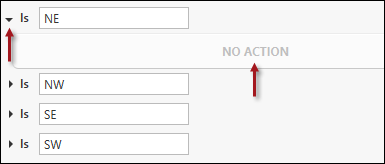
Click the arrow to drop down the first value, then click No Action.
-
Click Output, then click Symbol Text for Format Expression. Then, click Apply.
-
Type a label expression.

-
Repeat the process for the remaining label values.
-
Under “Otherwise,” click “No Action.” Now, you can set the label expression for when the CU Tag for Division is missing.
-
In the Add Item dialog, click Output.
-
Click “Symbol Text for Format Expression,” then click Apply.
-
Type a label expression that warns the end user about the missing division.

-
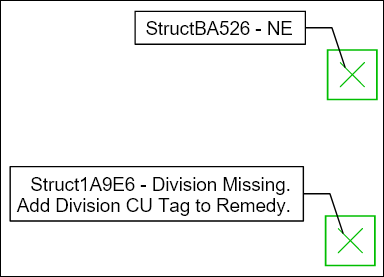
Click Apply Preview. In this image, the structure to the north has a division, while the structure to the south is missing a division.
-
Click Save.