
Auto Assign Work Locations
The Auto Assign Work Locations  tool automatically assigns each CU into the Work Location that is spatially closest to it.
-
Only CUs currently not in a Work Location are assigned with this tool. Any CU already assigned to a Work Location remains where it is regardless of its geographic location.
-
For point components, there is only one method of assignment. The application assigns the CUs to the closest Work Location.
-
For line (or linear) components, there are two possible methods of assignment. The following choices are set a company-wide level and cannot be changed for individual designs. Speak with your administrator if you would like to change the assignment method for linear features.
-
Start Point Work Location Assignment: All linear components have a start point. This is the point where you started sketching the linear feature. The application uses that start point to determine which Work Location is closest to the linear feature. In other words, even if the linear feature goes by several Work Locations, it only gets assigned to the Work Location closest to its starting point.
-
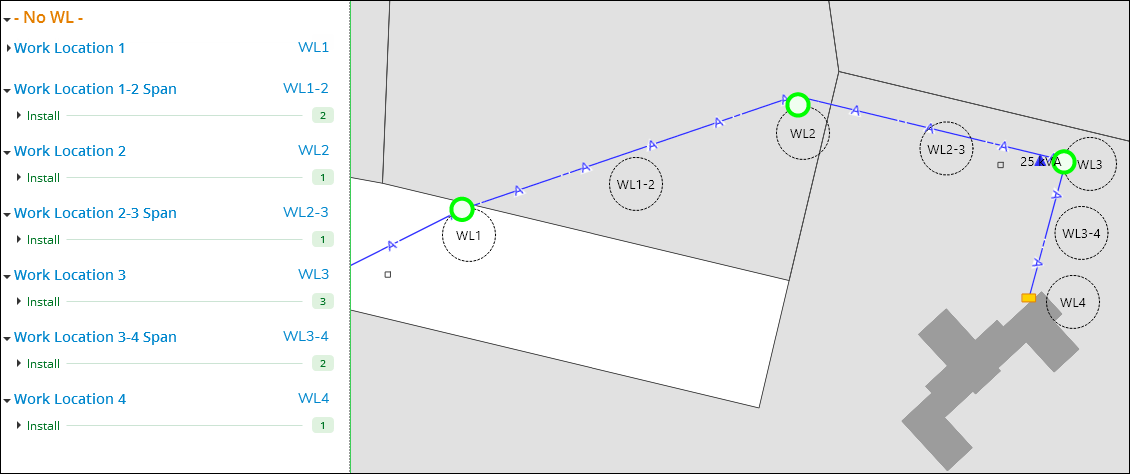
Start-to-End Work Location Assignment: This is commonly called a “span” assignment. This creates a Work Location for linear components that references the start and end points of the line. For example, if the start of the linear component is near Work Location 1, and the end of the component is near Work Location 2, the component belongs to “Work Location 1–2 Span.” Similarly, if it started near Work Location 3 and ended near Work Location 7, the component belongs to “Work Location 3–7 Span.”
-
-
Any CU located more than 300 map units away from the nearest Work Location is not assigned and remains in the No WL group. While you can still manually drag and drop such a CU into a Work Location, a CU more than 300 map units away is more likely an error. Zoom to the far away CU to investigate.
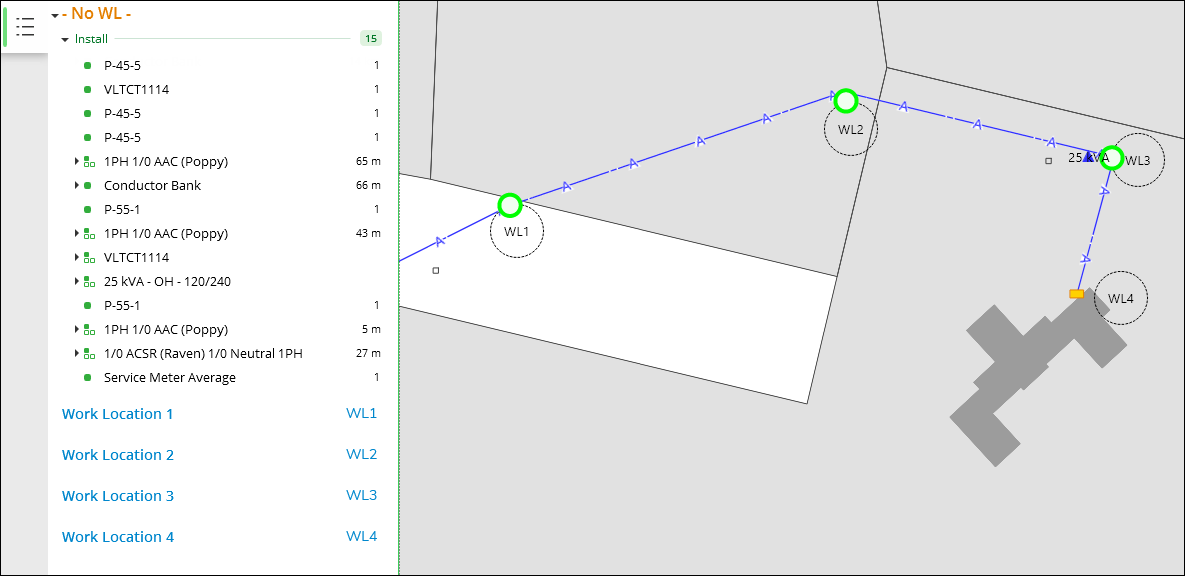
For example, notice there are four Work Locations in this design, but none of the CUs have been assigned.
After running the tool, the CUs are now assigned to the closest Work Location. The image below uses span Work Locations. If using point Work Locations, the linear components would have been assigned to Work Locations using the proximity of their start points. For more information, see the topic Work Locations.
To use this tool, follow these steps:
- After adding Work Locations and CUs in the design, in the
Project pane click the Auto-Assign Work Location tool.
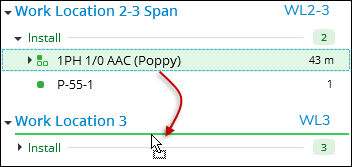
- If needed, you can change the grouping decisions by dragging
and dropping CUs into a preferred Work Location.
 IMPORTANT: This drag and drop method holds true for Non-Drawn CUs as well. With this method, manually assign any Non-Drawn CUs that are not already part of a group.