Rename Work Locations
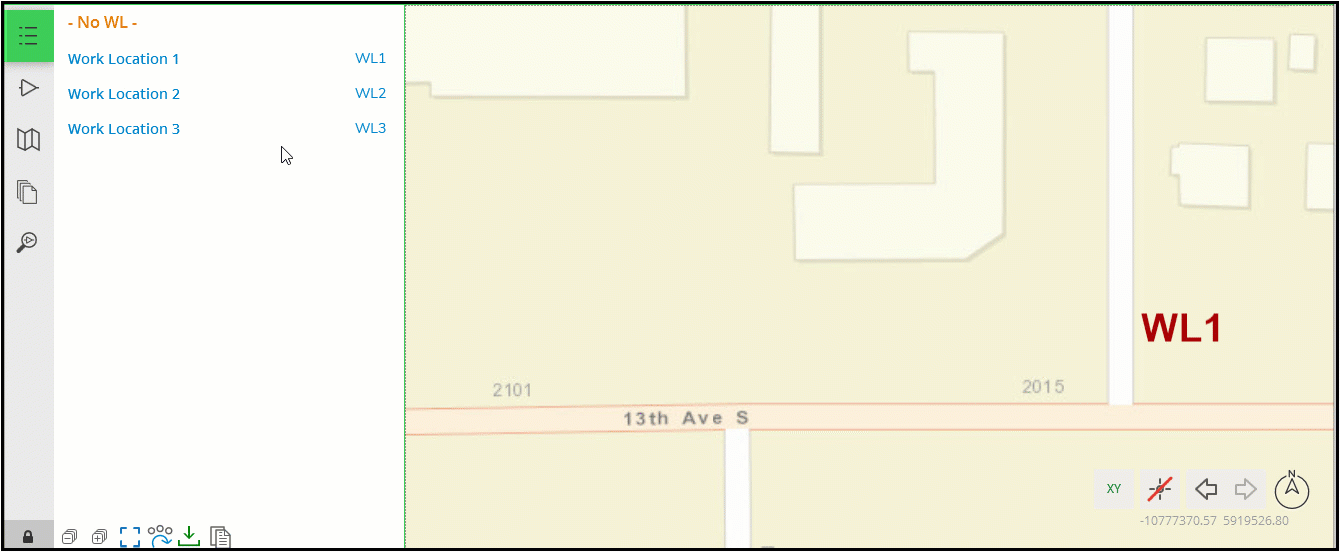
Each Work Location has a name and a short name. By default, the application spells out the name “Work Location 1” in the Project pane, and the application abbreviates the name to “WL1” on the map display.
To change the name:
-
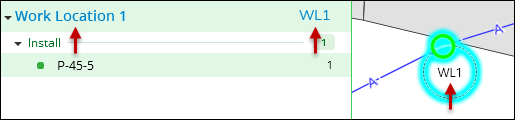
In the Project pane, hover over the Work Location options, then click Rename.

-
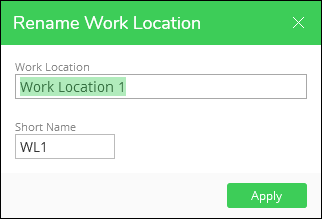
A dialog appears. Type a new Work Location name and a Short Name (the Short Name is visible on the map). Then, click Apply.
-
Notice the new name appears in the Project pane, and the Short Name appears both in the Project pane and on the map.

Change Multiple Work Location Names in Sequence
As a great time saving technique, you can select multiple Work Locations in the Project pane, then re-name them all in sequence. To do so, follow these steps:
-
In the Project pane, use Shift or Ctrl and your cursor to select multiple Work Locations.
-
Decide which Work Location you want to rename first. Hover over its options, then click Rename.
-
The Rename Work Location dialog appears. Type a new Name and Short Name.
-
Click Apply. Because you selected multiple Work Locations, the dialog remains open and it moves on to the next Work Location.
-
Continue to type new Names and Short Names. The application cycles through the Work Locations in top-to-bottom order, as listed in the Project pane.
-
Upon reaching the last Work Location, the dialog closes.
This short video displays the sequence of the above steps. If you need to make the video bigger, click it. It opens in a new tab at its full size.